Hello everyone, In this tutorial we will learn how to configure Tomcat Server in Eclipse.
By configuring the server in the Eclipse you can run the SAPUI5 applications which are exists in ABAP Repository from your local system.
This is one of the way of running SAPUI5 applications in Eclipse. You may encounter Allow Origin Policy issue while running the applications and this can resolved by running the chrome browser with disable security which i will explain at the end of the tutorial.
Lets get started
1. Download the Tomcat server from https://tomcat.apache.org/download-70.cgi.
2. After downloading the Tomcat server, unzip the file to location in your system. You can choose C:/ drive.
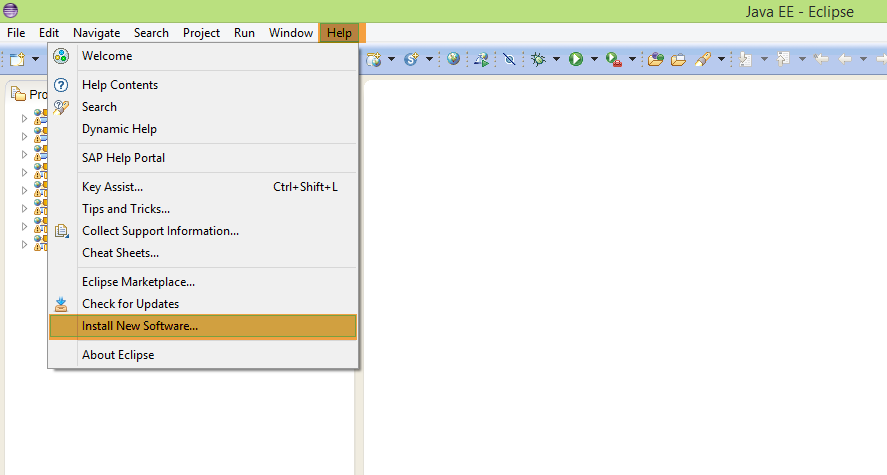
3. Open the Eclipse IDE and navigate to menu bar Help → Install New Software.
 4. In the Install New software window, enter http://download.eclipse.org/releases/kepler in the below specified field and press enter if required.
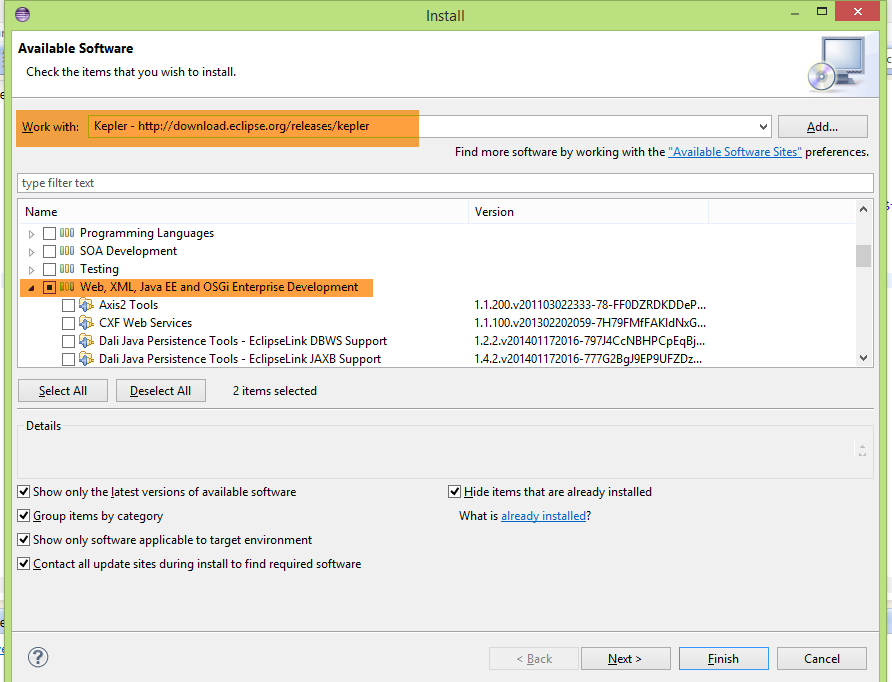 5. You will provided with available tools from the list of tools go to “Web, XML, Java EE and OSGi Enterprise Development” expand it.
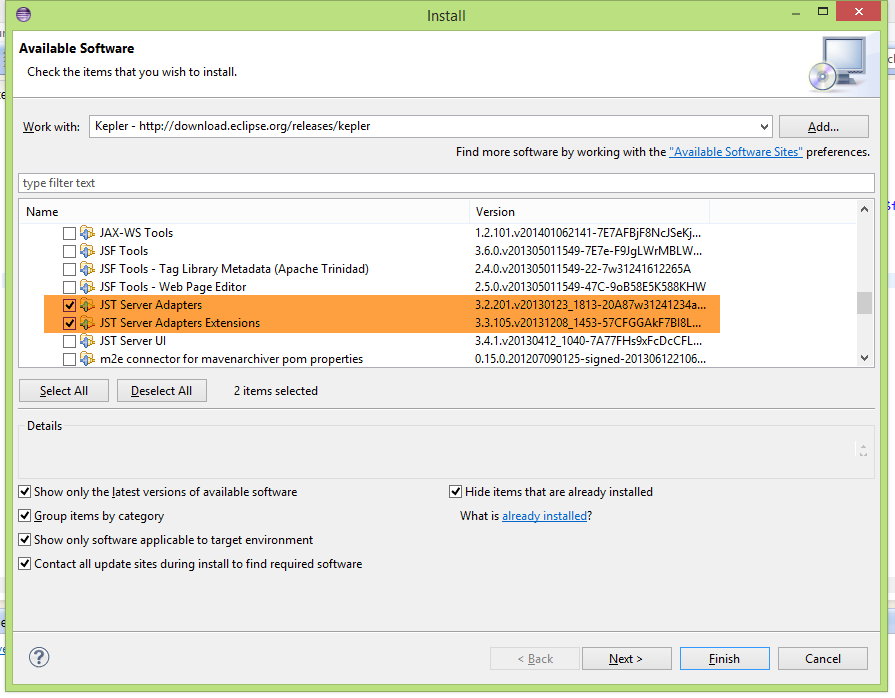
 6. Under the Java EE Enterprise Development, choose JST Server Adapters and JST Server Adapters Extensions. Click on Next to install the selected software.
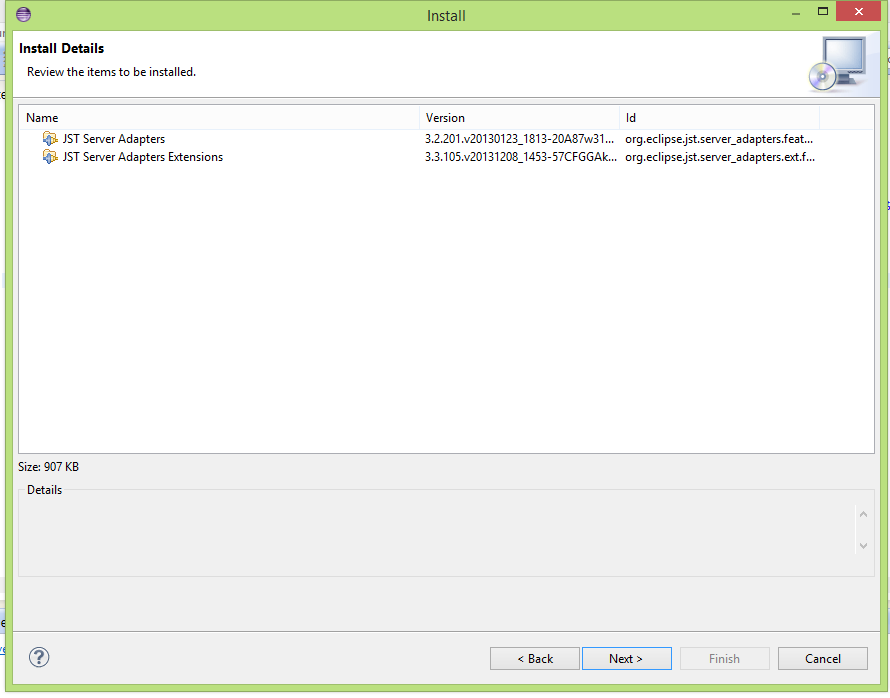
 7. Review the items that you have selected for installation and hit Next to proceed further.
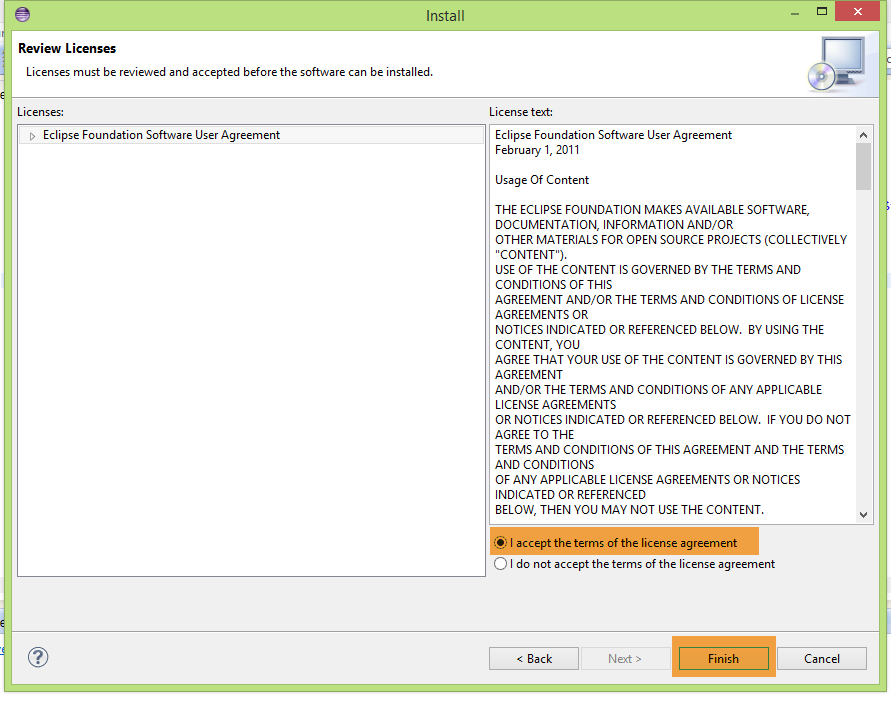
 8. In the Review Licenses window, read carefully the license and Accept the terms of license agreement and hit Finish button.
 9. You will installation will start and after installation of the software you need to restart the eclipse IDE to take effect of newly installed software.
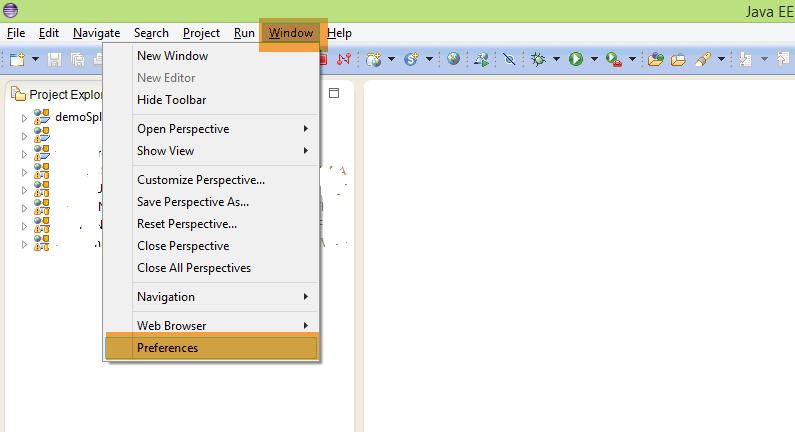
10. After restarting the Eclipse IDE, Navigate to menubar : Window → Preferences.
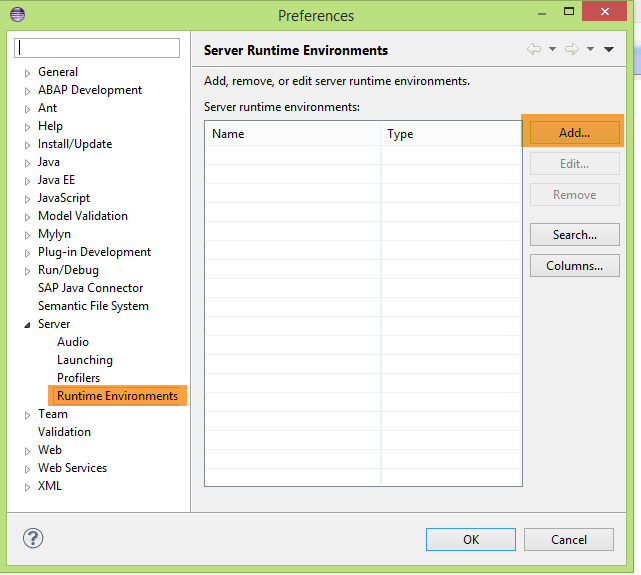
 11. In the Preferences window Go to and expand Server in left side tree and choose Runtime Environments and click on Add button to add the runtime environment.
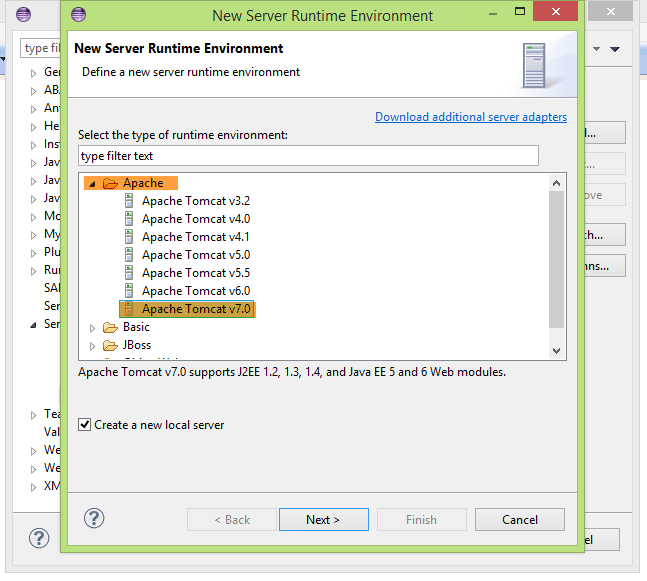
 12. Choose Apache Tomcat v7.0 under Apache and click on Next
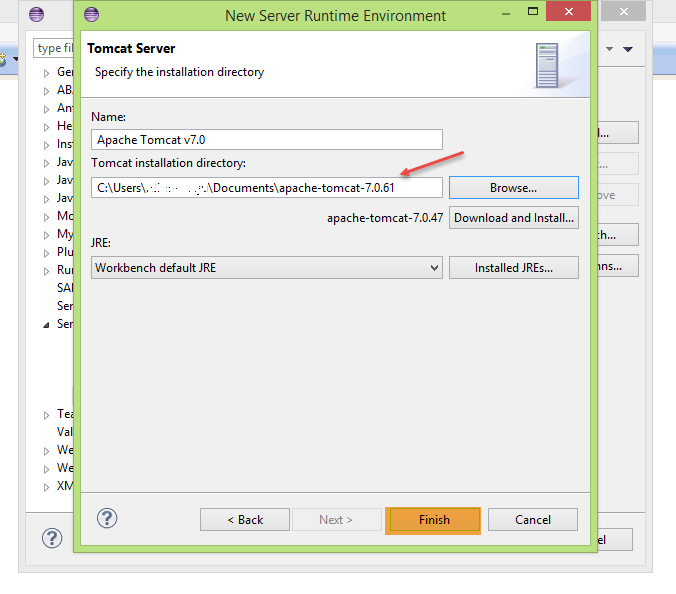
 13. Provide the installation directory path in which you have unzip the Tomcat server in Step-1.Click on Finish.
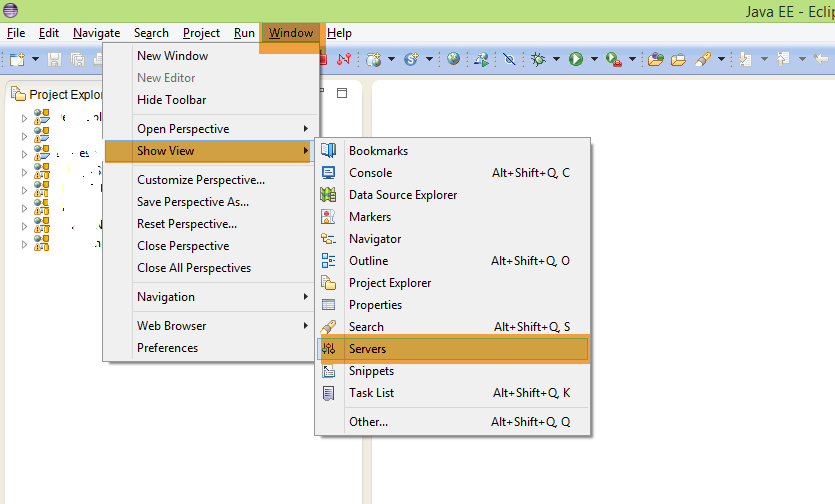
 14. Congratulation you have successfully installed and configured the Tomcat Server. To start the server Navigate to Window → Show View → Servers. Before that you need to change to Java EE perspective on top right corner.
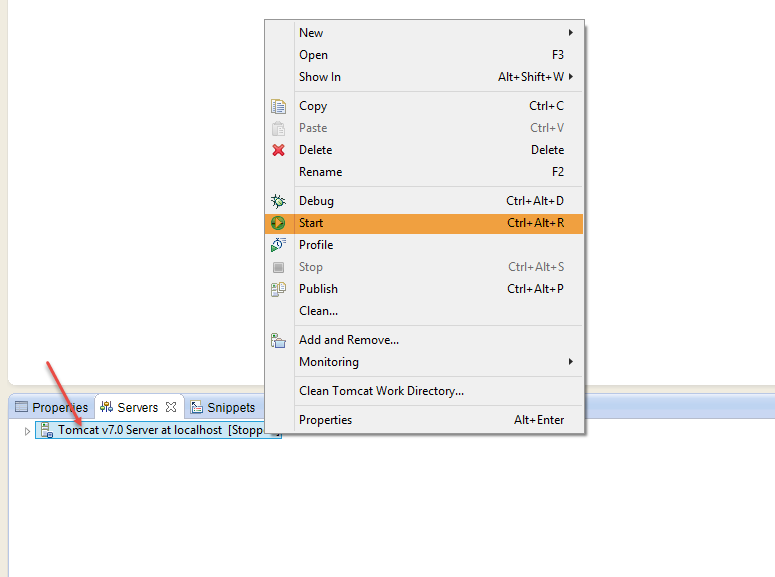
 15. You can see the server in the server in the bottom part of the development workbench. To start the server, select the respective server → Right Click → Start.
By this we will end this tutorial and in next tutorial we will create a sample SAPUI5 application in SAP ABAP repository and run the SAPUI5 application in Tomcat server.
Please stay tuned to us for more SAPUI5 tutorials.Please feel free to comment and let us know your feedback. You feedback will keep us alive.


Comments are closed.