Hello everyone, in this tutorial we will build an OData model using OData Modeler.
Before moving forward please make sure you completed the installation of OData Modeler in Eclipse IDE. To know about the installation procedure, click here.
So lets get started.
There are multiple ways of creating OData model using OData Modeler in Eclipse, they are
- Using a Blank OData Model
- Using a OData service metadata URL.
- Using a OData service metadata file.
- Using a existing OData service from the service catalog.
In this tutorial, we will look at the first option and create a OData model from a Blank OData Model.
Step-by-Step Procedure
1. To create OData model in Eclipse IDE, you need to switch to OData Perspective to do so navigate to Window → Open Perspective → Other and a Open Perspective window appears choose OData from the list and click on OK.
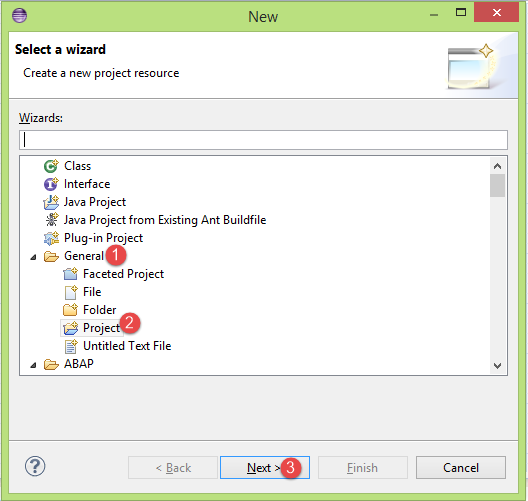
2. Now you are in OData model perspective, next step is to create a project. To create a project navigate to File → New → Other and then in the Select a Wizard window appears, choose Project under the General folder and hit Next.
3. In the New Project window, enter the project name and click on Finish to create a new project. The newly created project will appear in the Project Explorer.

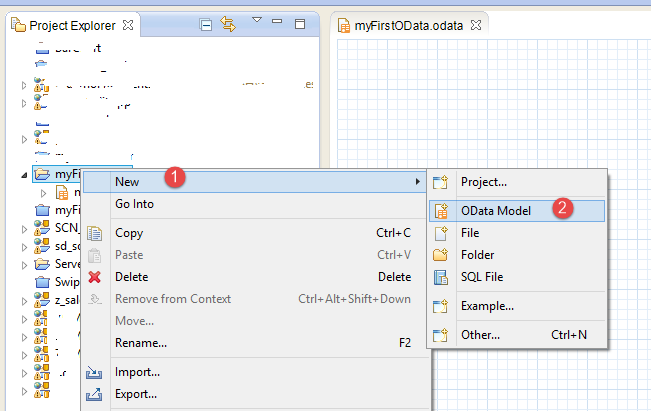
4. Now create a blank OData model, to create it right click on the new project in the project explorer → New → OData Model.
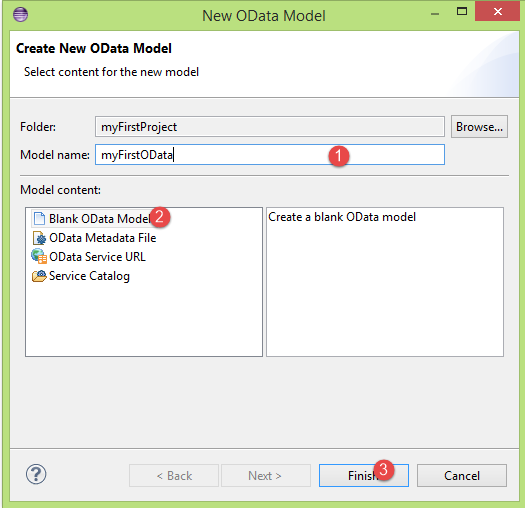
5. In the Create New OData Model, enter the model name and choose Model content as Blank OData Model and click on Finish. A new model will be created and opens in the OData Model Editor.
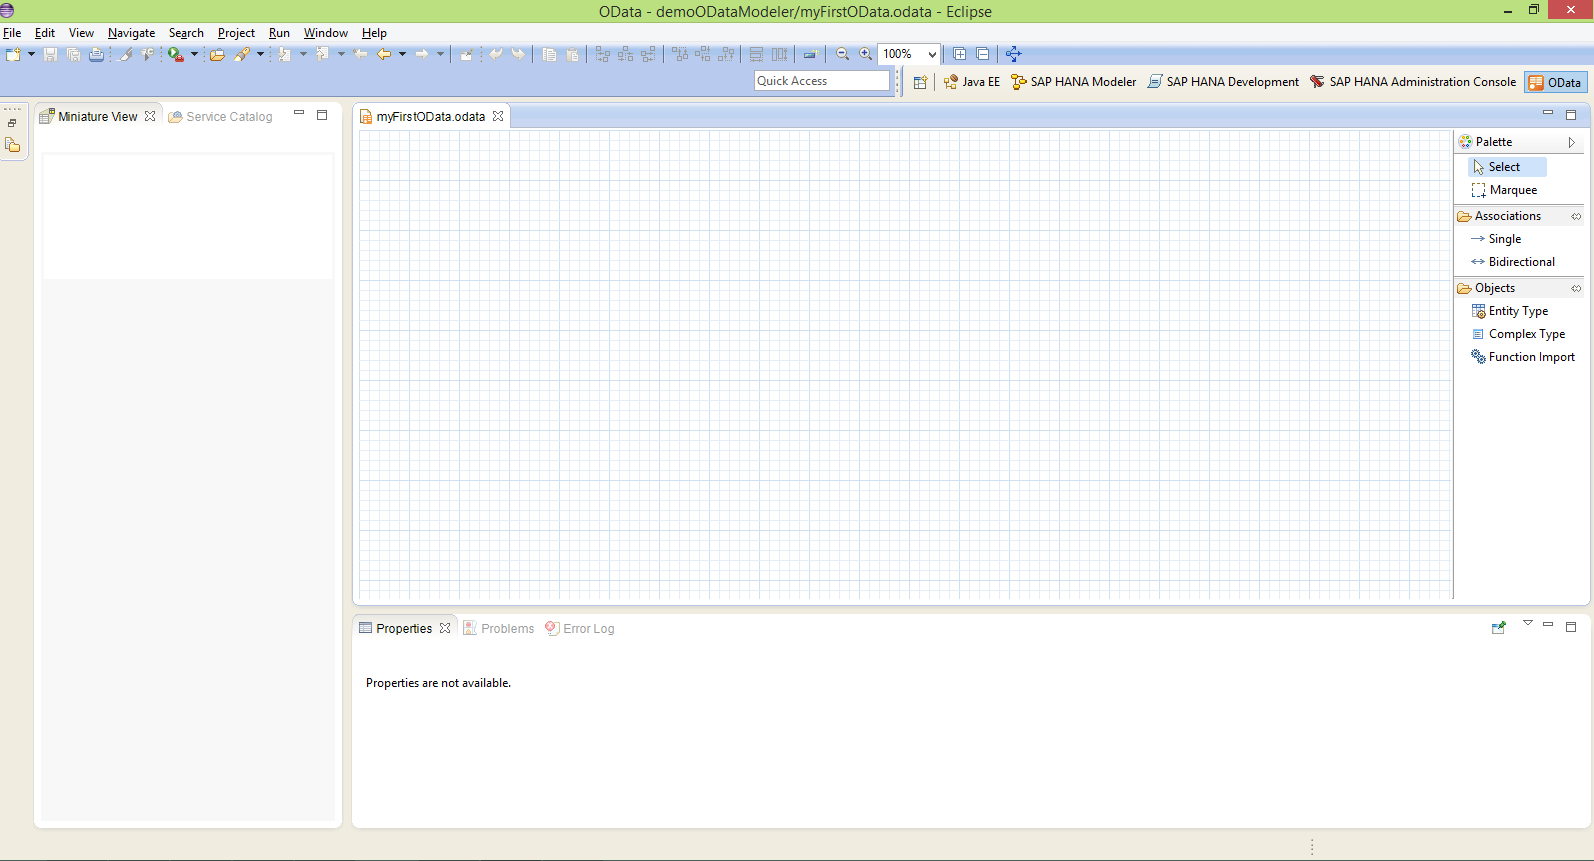
6. Now you are in the OData model editor, to create a model element drag and drop the element from the Palette into the graphical editor.
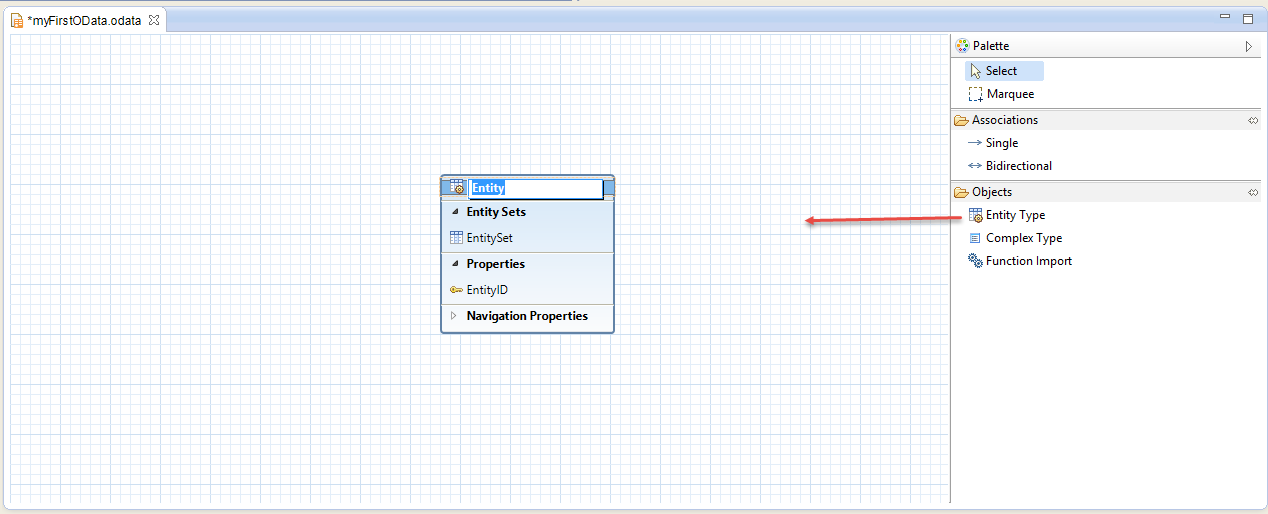
7. Each and every model element will have different sections, for example Entity Type object consists of
- Entity Sets
- Properties
- Navigation Properties
Enter the name of the Entity Type as SCARR and add properties CARRID, ScarrName and ScarrURL under Properties section. By default Entity Type Set name will proposed.

Now you have successfully created a model using OData Modeler. Stay tuned to us for more SAP OData tutorials.
Please feel free to comment and let us know your feedback. Subscribe for more updates
If you liked it, please share it! Thanks!


Comments are closed.