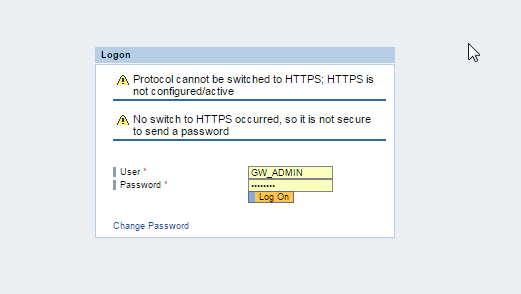
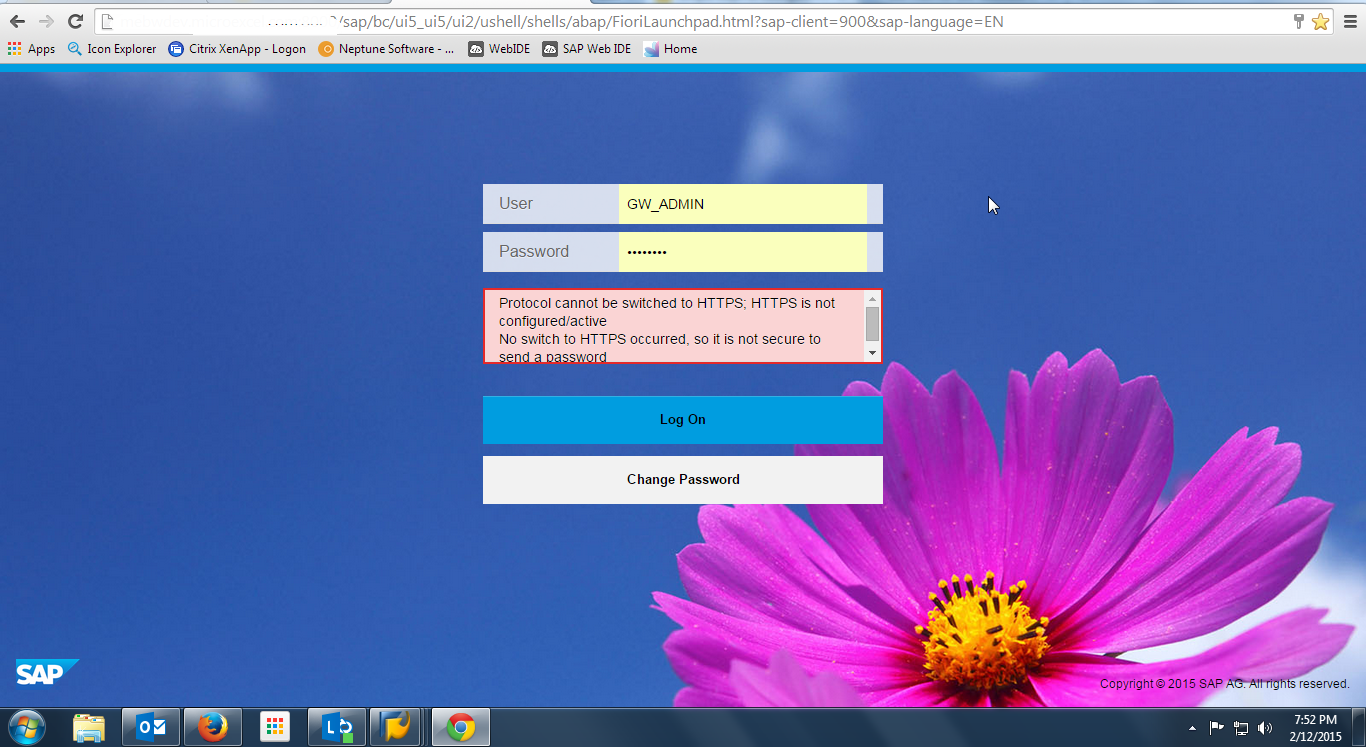
In this tutorial, we will learn how to configure SAP Fiori new Login page, when we log on to SAP Fiori Launchpad(FLP). Before configuration, you see the below basic and classic login page like below.
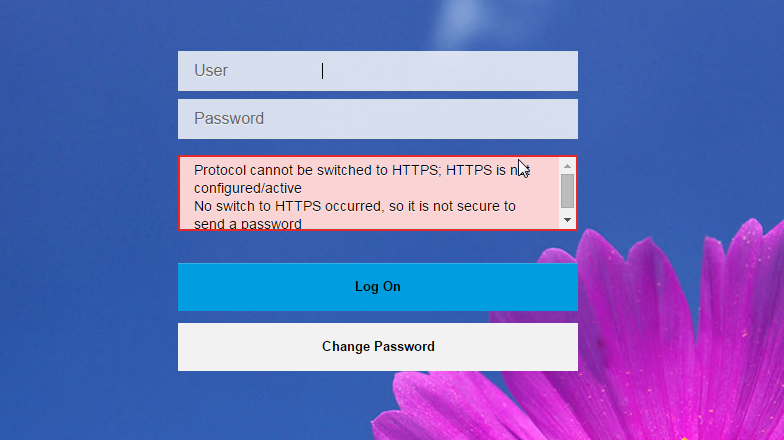
We are going to configure to new login page like below.
Step-by-Step Procedure
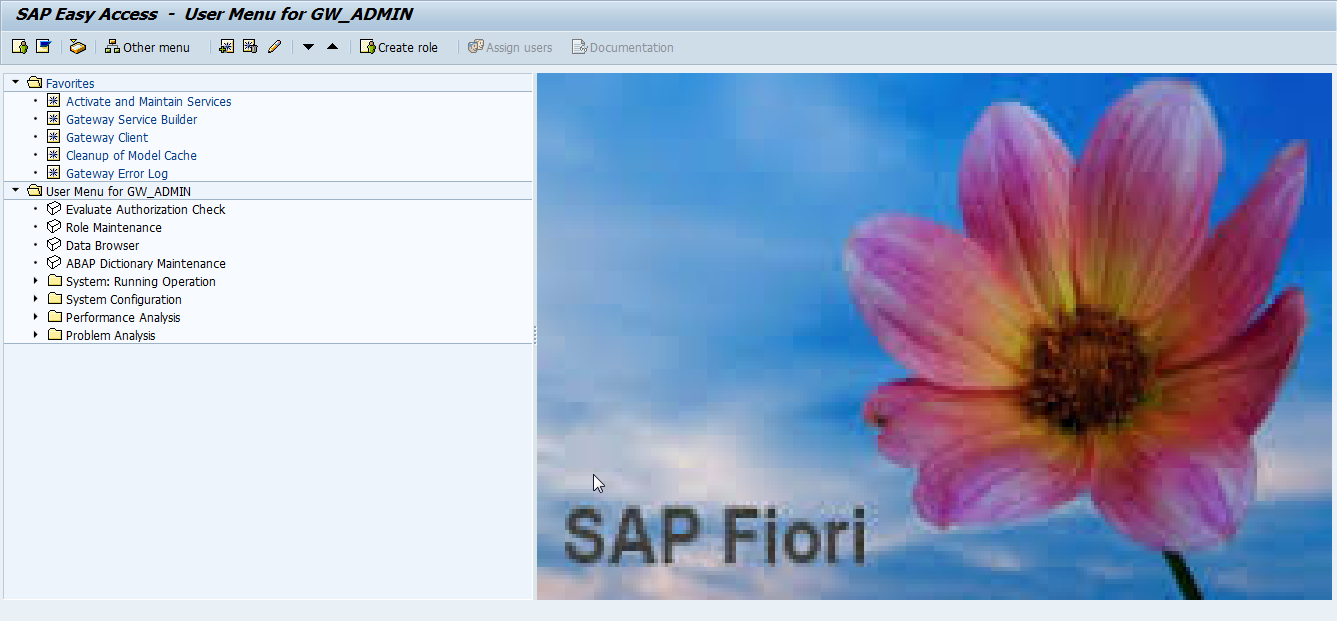
1. Login to your Gateway system, where you have installed Gateway Add-on. This may vary on which deployment option (Hub or Embedded) you have chosen.
2. Go to the transaction code – SICF
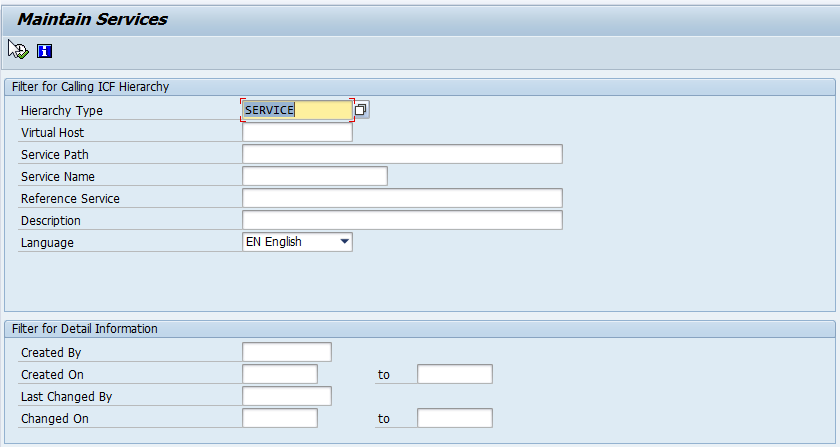
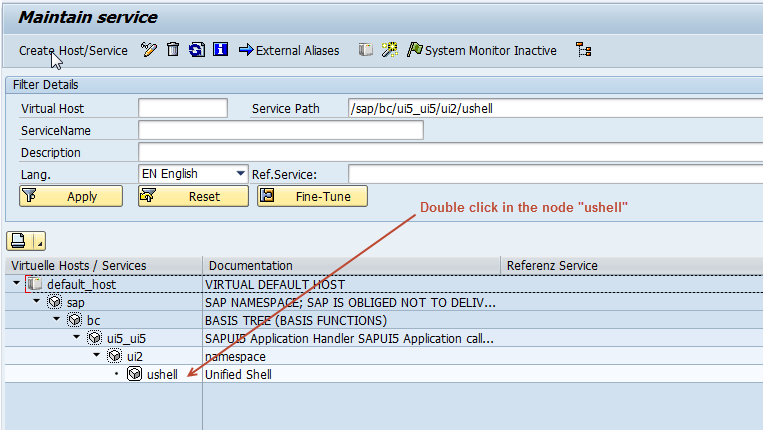
3. Enter “/sap/bc/ui5_ui5/ui2/ushell” in the Service path field and hit Execute button.

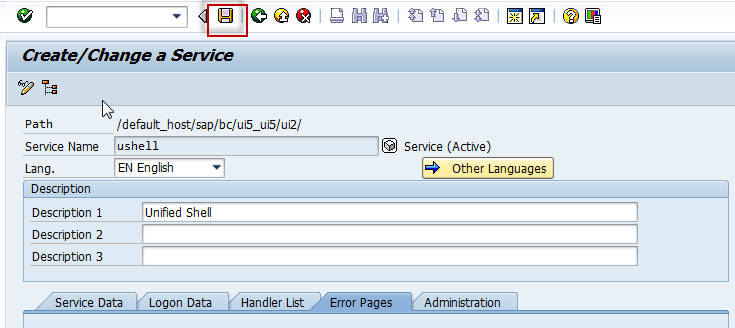
4. You will see the below screen, Double click on the node “ushell”.
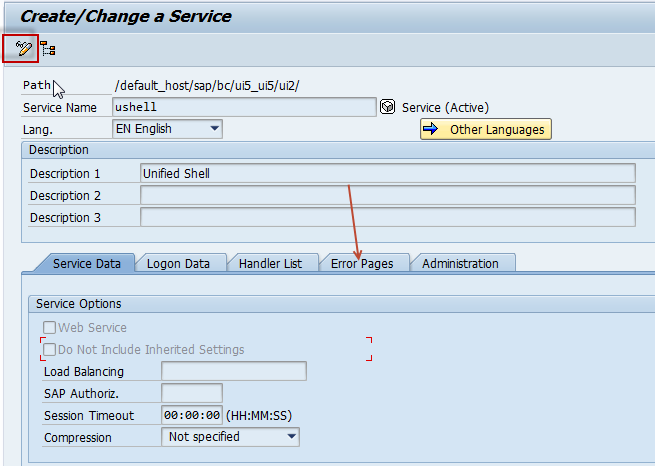
5. Now you will see the below screen, Click on change button and go to “Error Page” tab and then to “Logon Errors” tab.
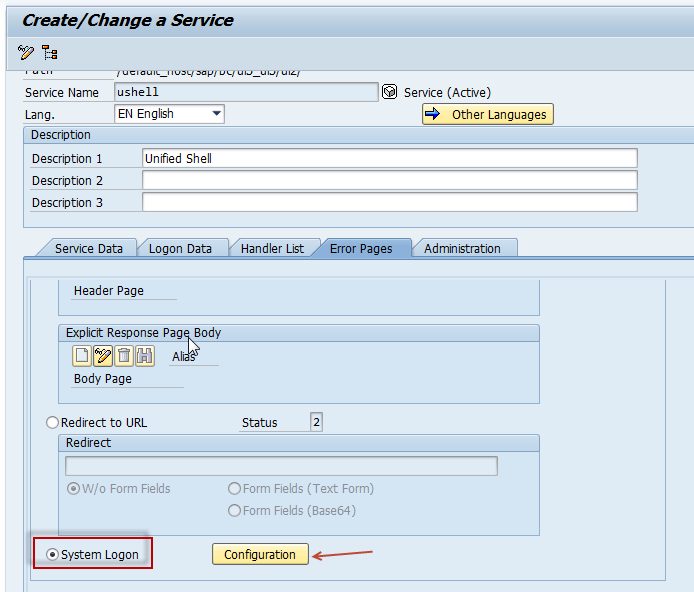
6. Choose “System Logon” and click “Configuration” button.
7. Below popup screen will be displayed. Perform below setting on this popup screen.
- Under “Settings Selection” section – choose Define Service-specific Settings
- Under “Logon Logout and Procedure” section – enter ABAP class as “/UI2/CL_SRA_LOGIN”.
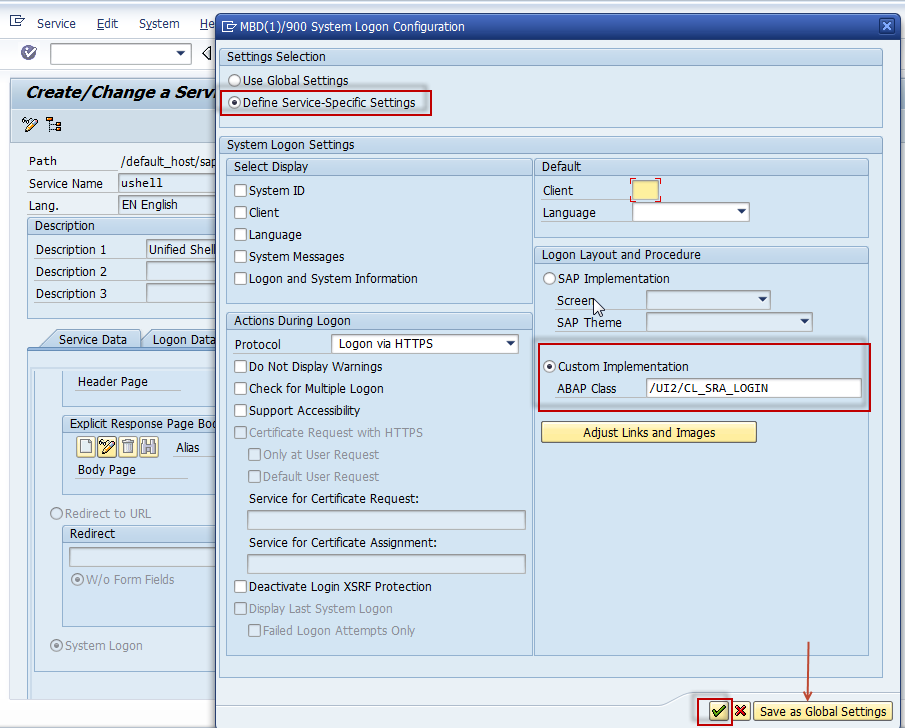
8. Click on “Save as Global Settings” and OK button.
9. Save the settings in SICF.
10. Re-launch the SAP Fiori Launchpad.
Congrats!! 👍 Please stay tuned to us for more SAP Fiori tutorials.Please feel free to comment and let us know your feedback.
Thank you. 🙂


Comments are closed.