Dear SAPLearners, in this blog you will learn how to install Java Development Kit 8 on windows 8 64bit machine. Lets get started.
Step-by-Step Installation Procedure
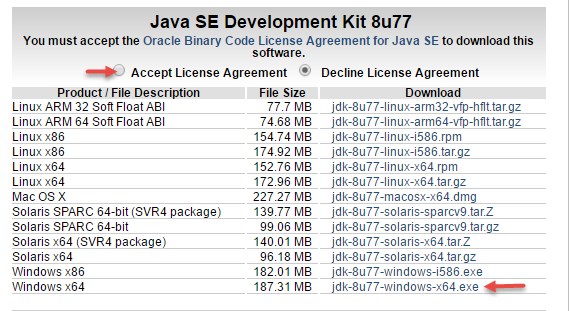
1. Download JDK 8 or higher version software from the oracle downloads website. Click here to go the oracle download site directly. Choose your operating system and click on download link
 2. Once the download completed double click on the .exe file to start the installation.
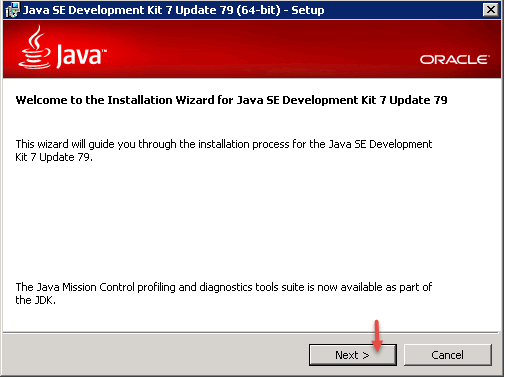
3. Click on Next on welcome installation wizard.
 4. Click on Next.
 5. Extractor will start extract the necessary files for the installation.
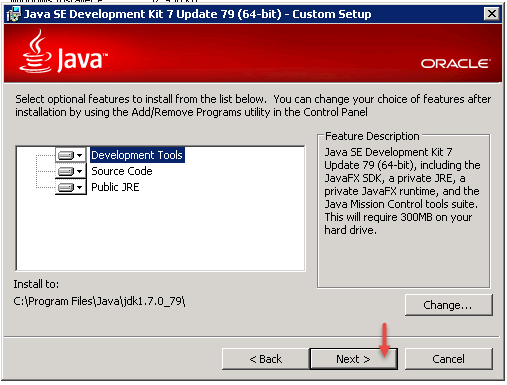
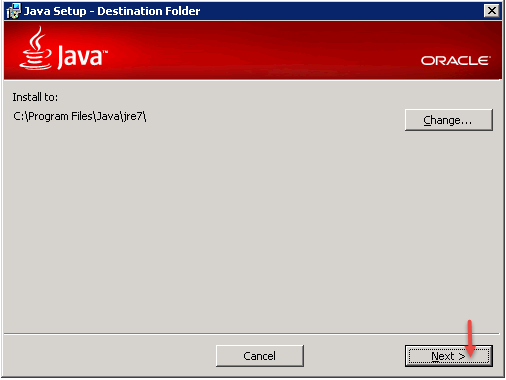
 6. Choose the destination folder in which you want to install the JDK or leave it to default.Click on Next.
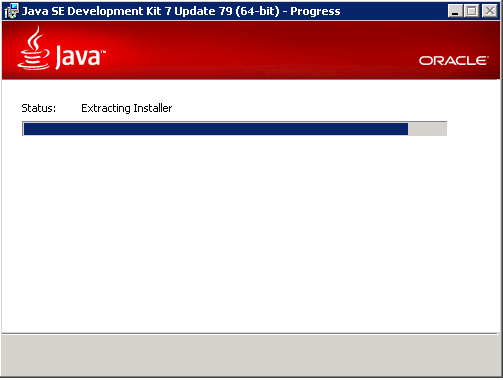
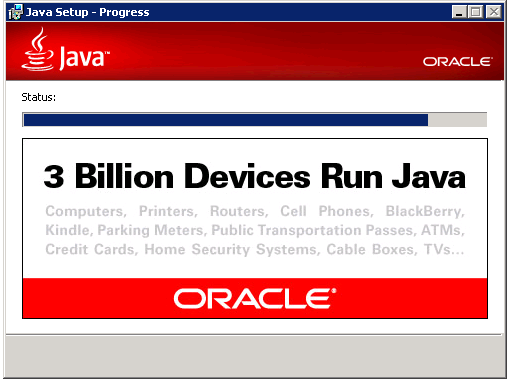
 7. JDK Installation process will start and you can see that in the progress window.
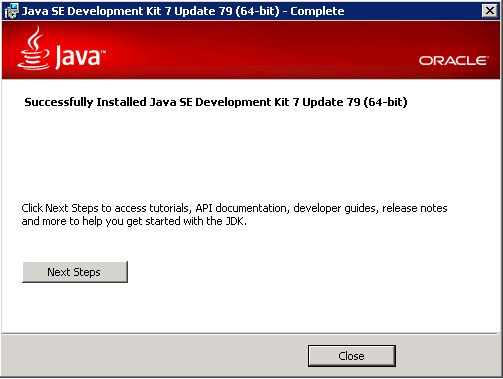
 8. After successful installation you should see the success window like below
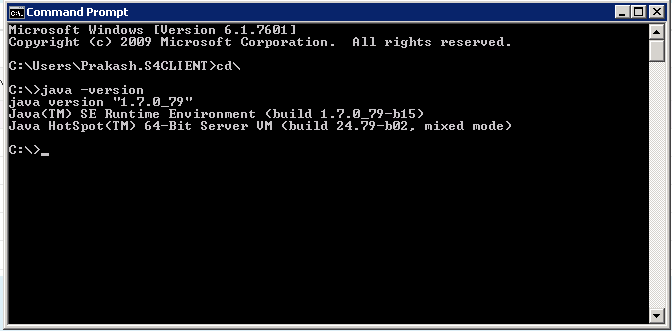
 9. To test the JDK installation, open your windows command prompt and type “java -version” you should the version details like below
 10. Next step is to set the java environment variable “JAVA_HOME”, click here to know the step by step procedure.
Congrats you have successfully installed Java Development Kit on your local machine.
Please feel free to comment and let us know your feedback. Subscribe for more updates.
if you liked it, please share it! Thanks!


