Hello everyone, In this SAPUI5 tutorial we will learn how to set the custom Header in sap.m.Page in SAPUI5 application.
[adsenseyu2]
1. Below is the standard page header available when you use the sap.m.Page.
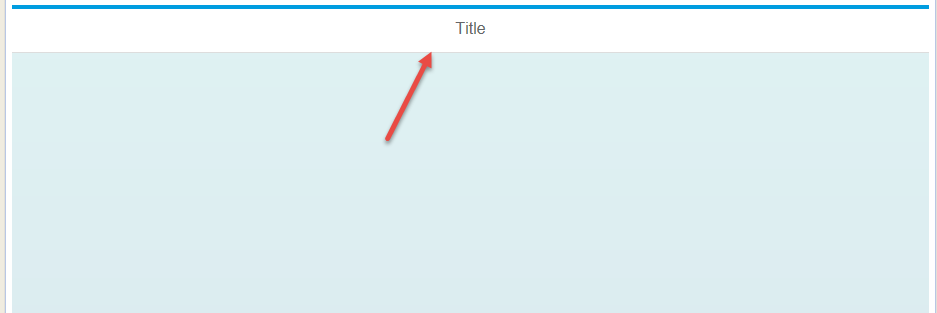
2. Sample XML code for the above page is below.
<core:View xmlns:core="sap.ui.core" xmlns:mvc="sap.ui.core.mvc" xmlns="sap.m"
controllerName="customheader.customHeader" xmlns:html="http://www.w3.org/1999/xhtml">
	<Page title="Title">
		<content>

		</content>
	</Page>
</core:View>
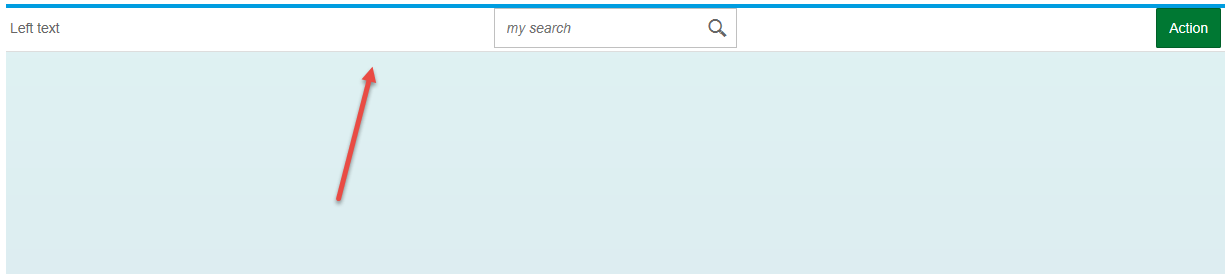
3. Now we going to replace the header with our custom Header. To do this we need to sap.m.Bar has our new custom header. Inside the bar we are going add the content.Below is the sample code for the custom Header in sap.m.Page.
<core:View xmlns:core="sap.ui.core" xmlns:mvc="sap.ui.core.mvc" xmlns="sap.m"
   controllerName="customheader.customHeader" xmlns:html="http://www.w3.org/1999/xhtml">
	<Page title="Title">
		<customHeader>
		<Bar>
		<contentLeft>
		<Text text = "Left text"></Text>
		</contentLeft>

		<contentMiddle>
		<SearchField  placeholder="my search"></SearchField>
		</contentMiddle>

		<contentRight>
		<Button text="Action" type="Accept"></Button>
		</contentRight>
		</Bar>
		</customHeader>

		<content>
		</content>
	</Page>
</core:View>
4. Now see the output, we have added a Label , Search Field and a Button in the header of the Page.
[adsenseyu1]
You have successfully added custom header in sap.m.Page in SAPUI5 application.
Please stay tuned to us for more SAPUI5 tutorials.Please feel free to comment and let us know your feedback. You feedback will keep us alive.
Thank you. 🙂


